Introduction
In the world of ethnic fashion, the dupatta plays a crucial role in elevating the overall look of an outfit. Beyond just being a traditional accessory, the art of draping a dupatta opens up a realm of creative possibilities. In this blog post, we'll delve into various unique ways to style your dupatta, exploring different folds, knots, and draping techniques. Get ready to transform your ethnic ensemble with these step-by-step tutorials.
1. The Classic Shoulder Drape: Timeless Elegance
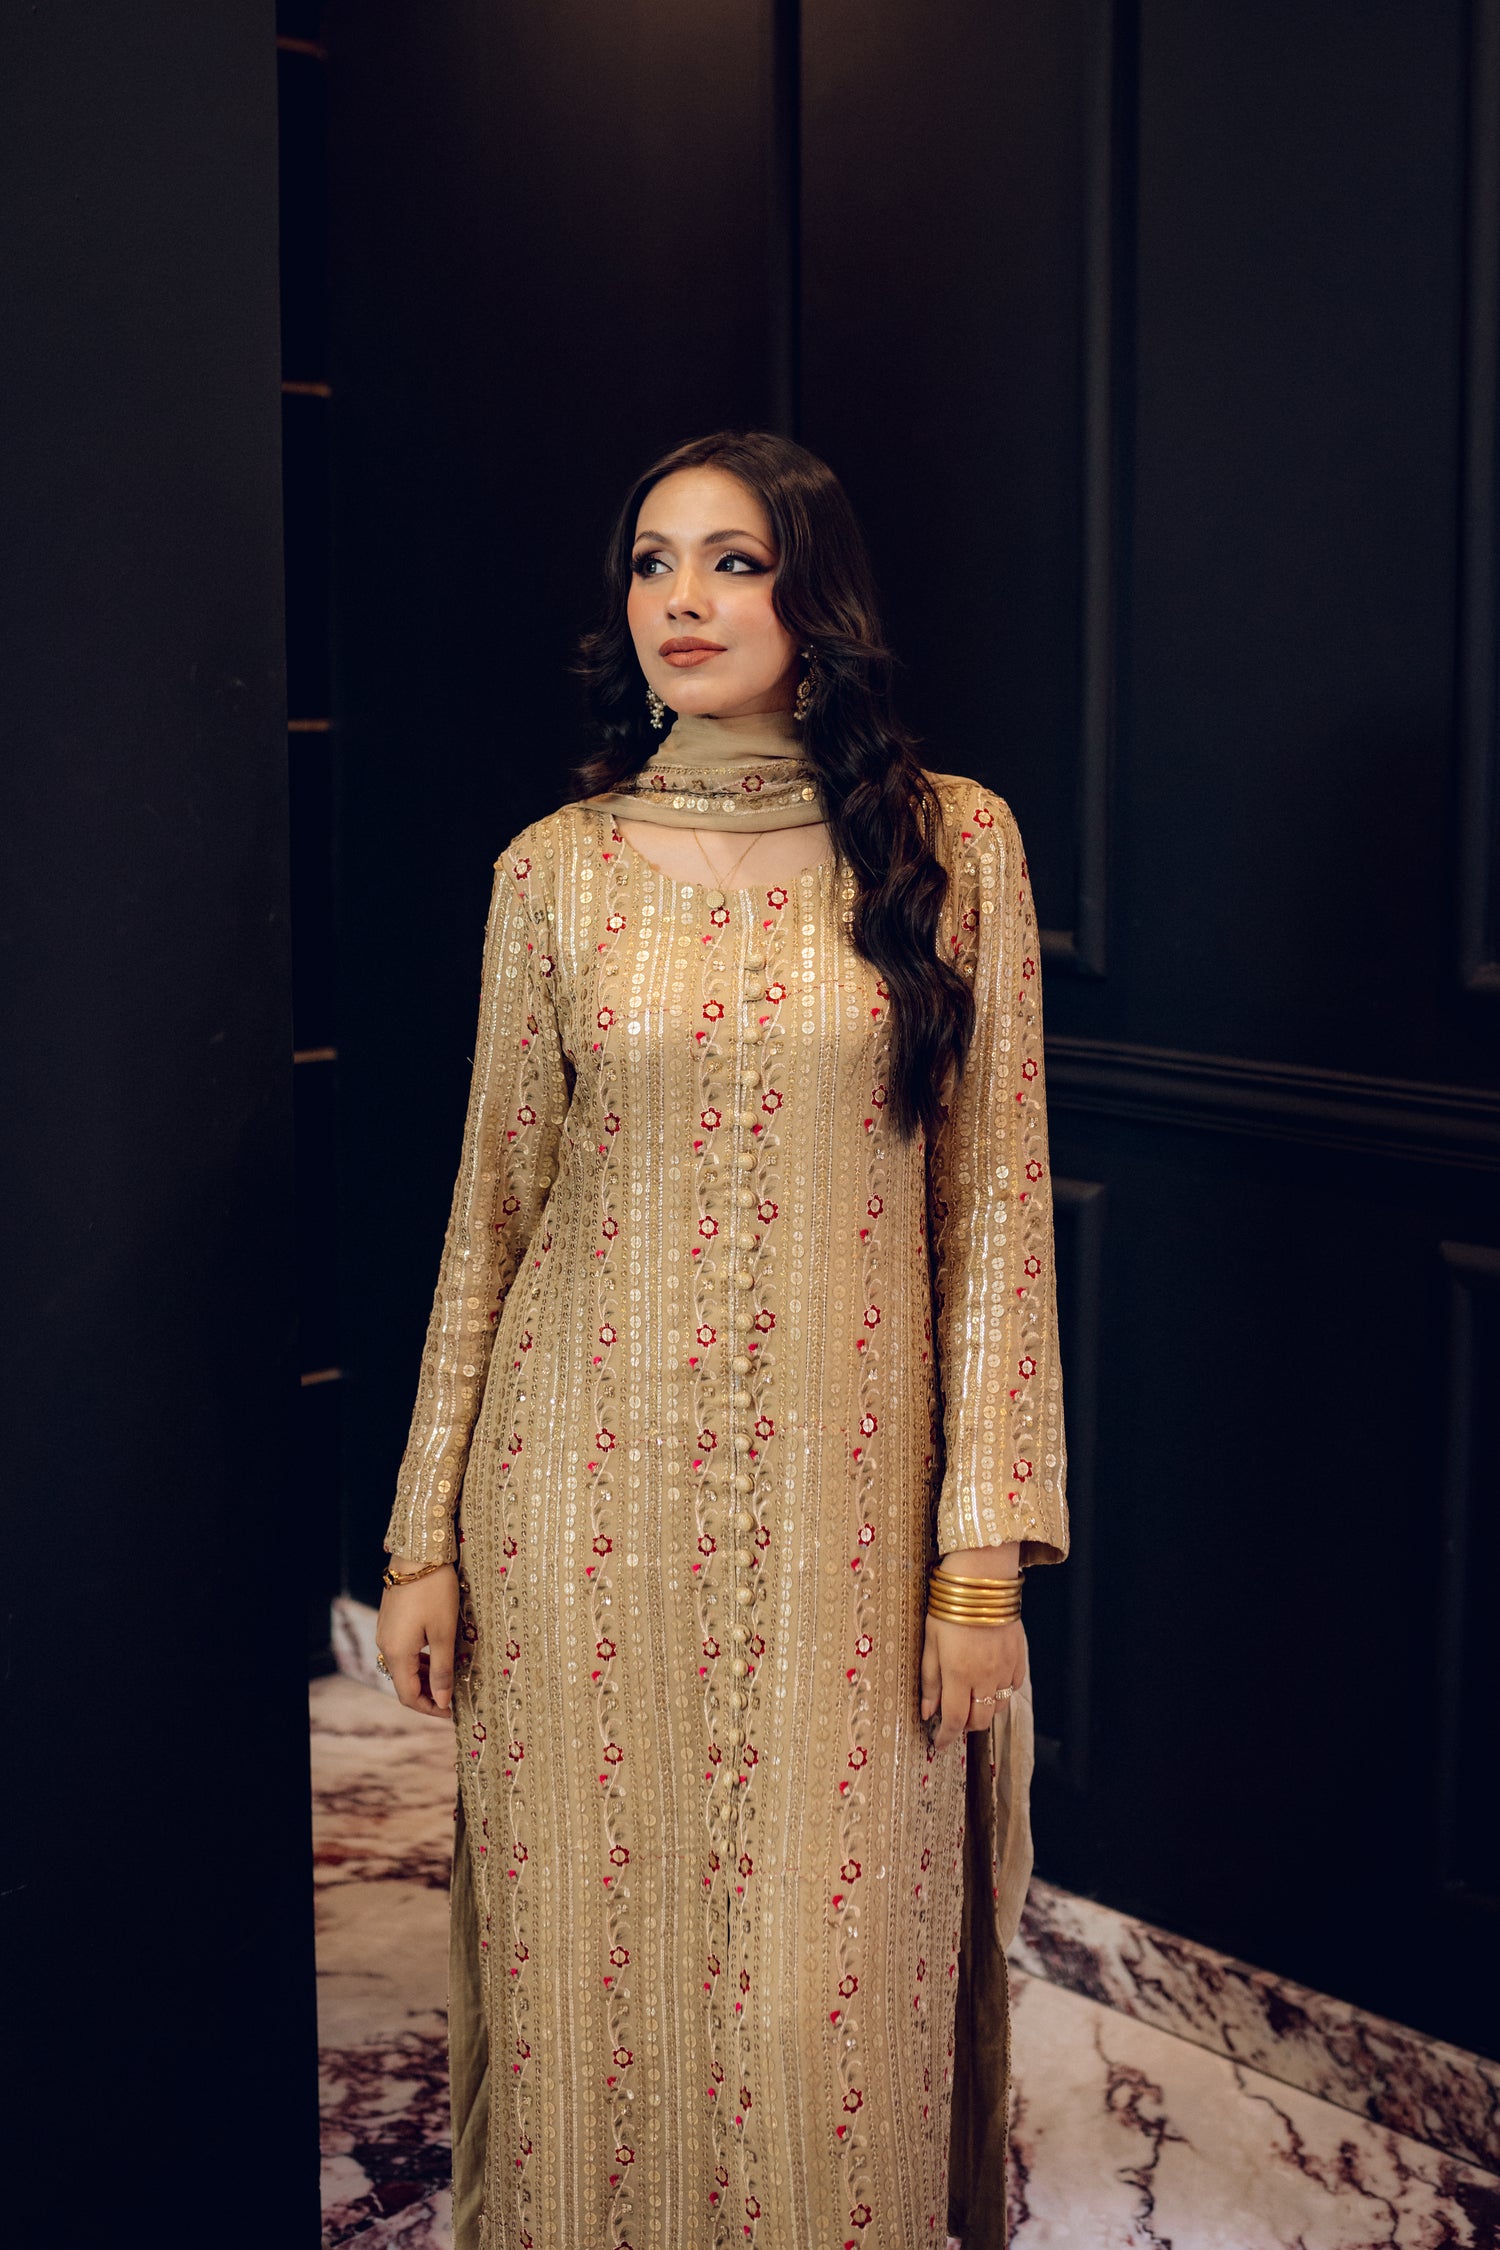
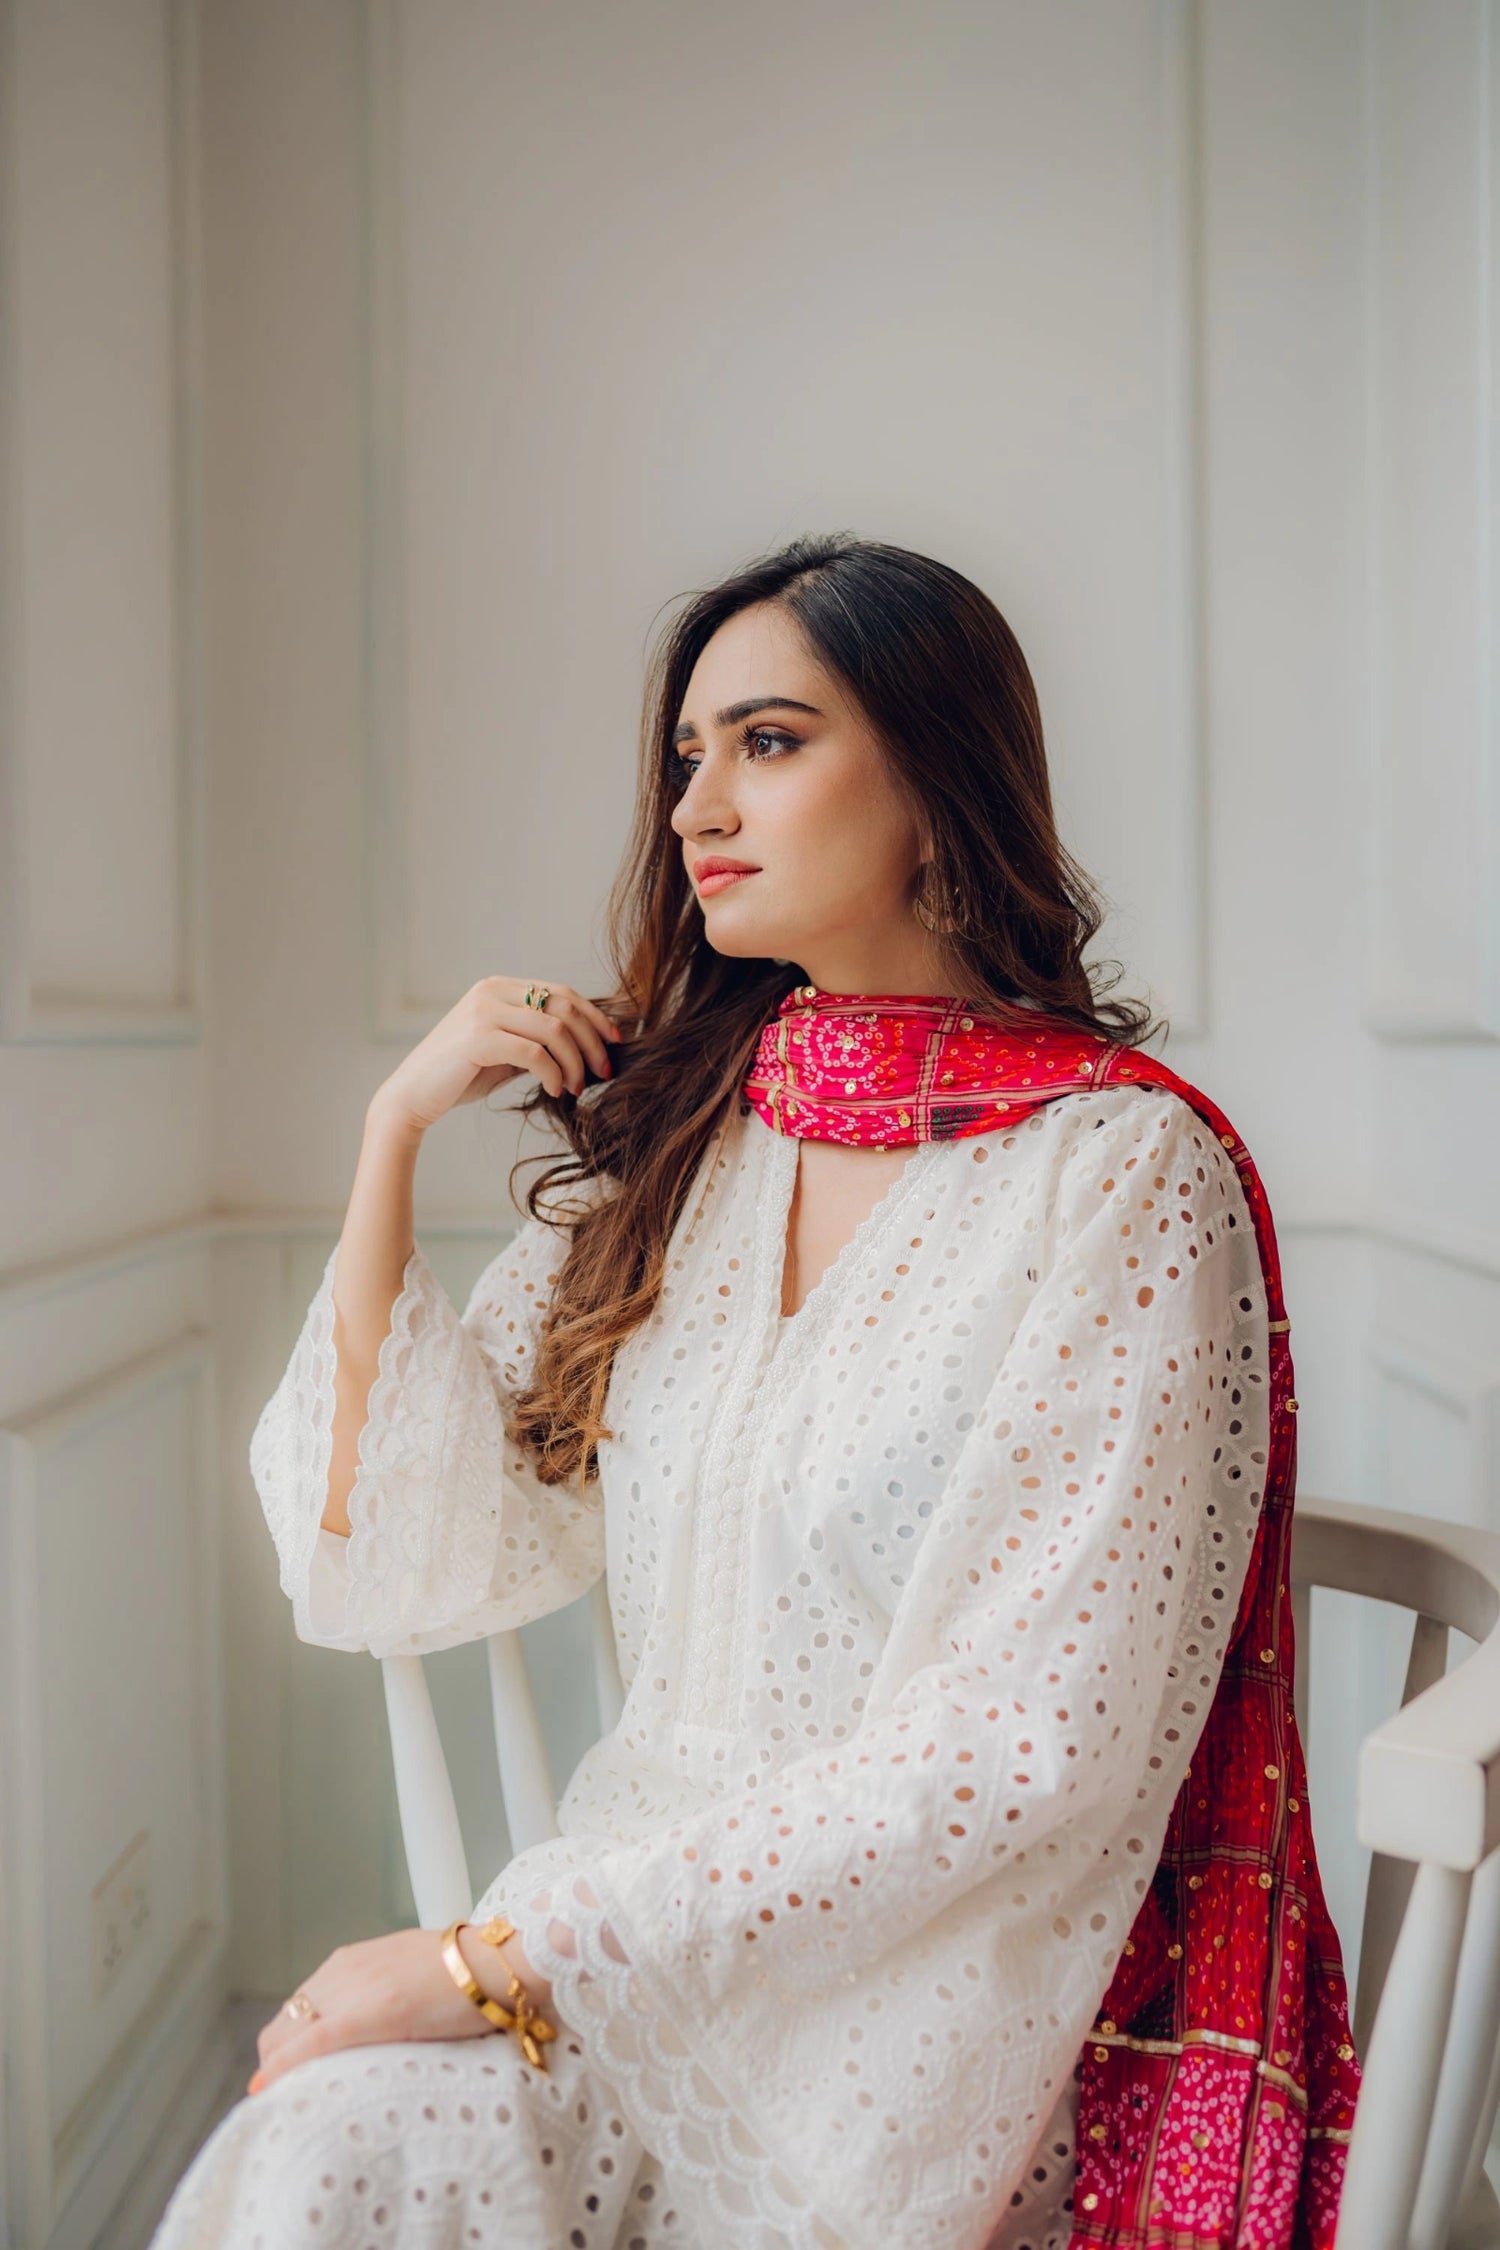
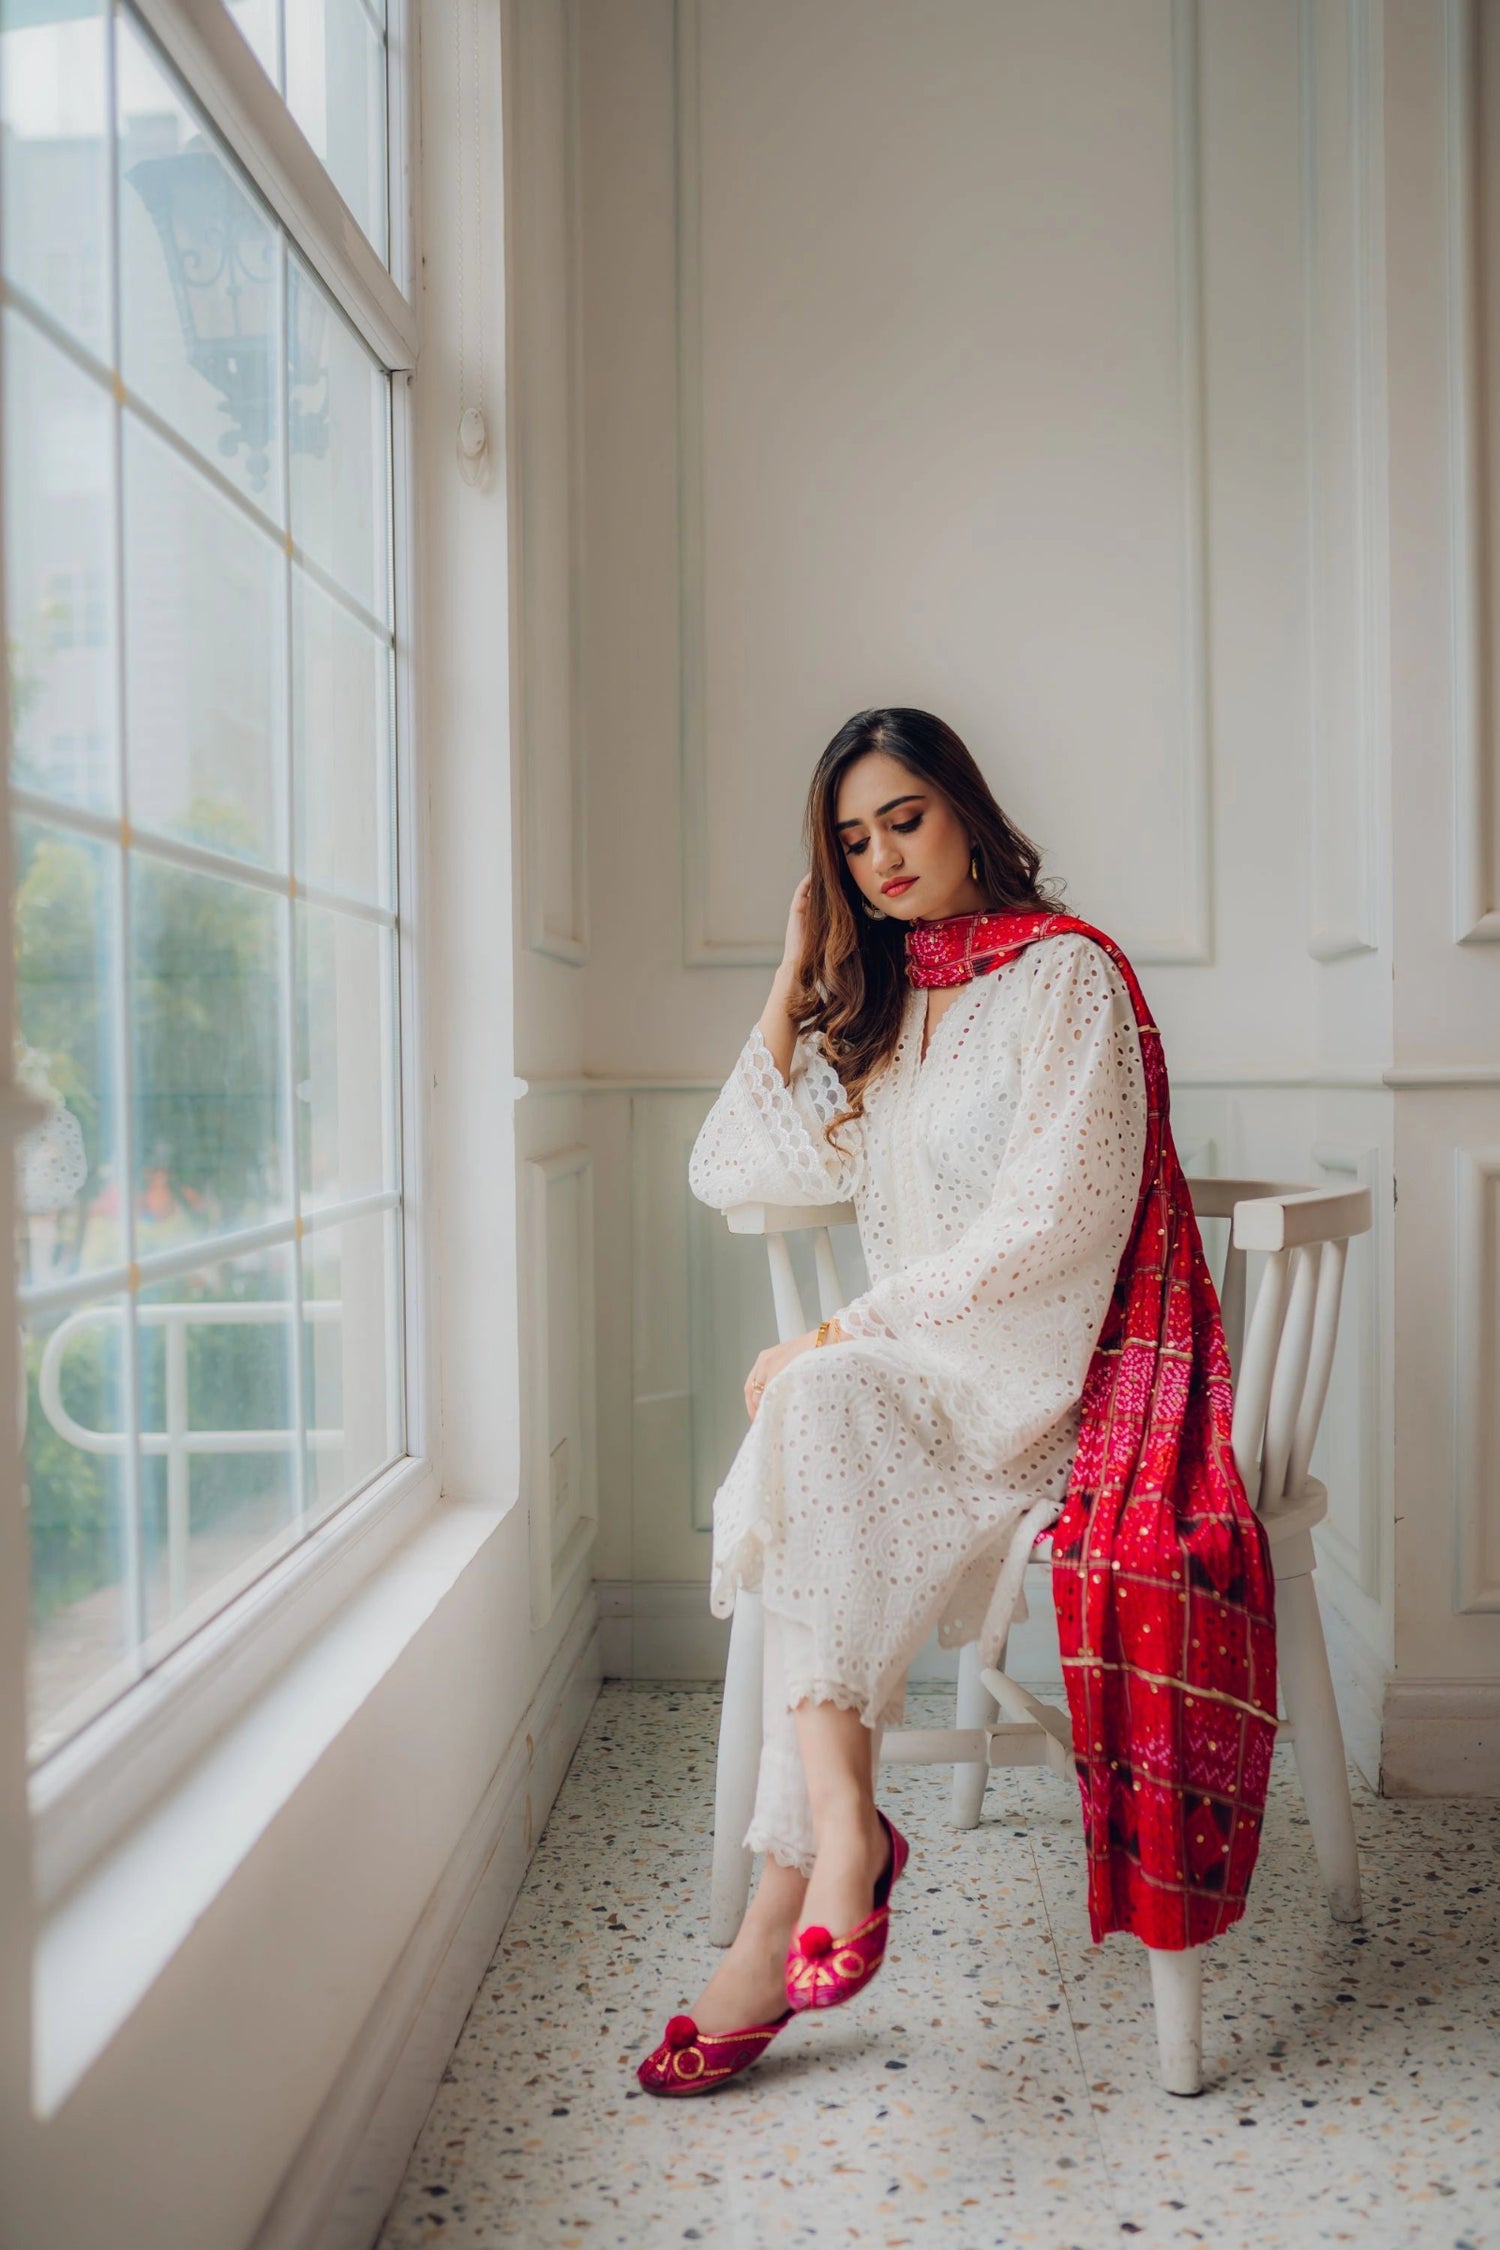
The classic shoulder drape is a sophisticated and enduring method of styling your dupatta, imparting timeless elegance to your overall look. This technique revolves around artfully draping the dupatta over one or both shoulders, resulting in a graceful silhouette that effortlessly complements various ethnic outfits.

Step-by-Step Tutorial:
-
Start with the dupatta hanging evenly on both sides: Begin by ensuring that the dupatta is symmetrically arranged, with equal lengths on both sides. This foundational step sets the stage for a balanced and well-executed shoulder drape.
-
Drape it over one shoulder, allowing it to fall gracefully: Gently lift one end of the dupatta and drape it over either the left or right shoulder, depending on personal preference or outfit design. Allow the fabric to cascade naturally, creating an elegant and flowing effect.
-
Adjust the length and tuck it in securely: Adjust the length of the draped dupatta according to your comfort and style preference. For a secure fit and a polished appearance, tuck the draped end into the waistband or side of your bottoms. This not only ensures stability but also adds a refined finish to the overall look.
-
Optionally, repeat on the other shoulder for added volume: To enhance the visual appeal and add a touch of flair, you have the option to repeat the shoulder drape on the opposite side. This step is particularly effective when seeking a more voluminous and balanced appearance. Ensure that both draped ends harmonize seamlessly for a polished finish.
Additional Tips:
-
Fabric Matters: Choose a dupatta fabric that complements your outfit and drapes well. Light, flowy fabrics like chiffon or georgette work beautifully for this style.
-
Experiment with Lengths: Depending on the occasion and your personal style, you can experiment with the length of the dupatta. A longer drape can create a more dramatic effect, while a shorter one exudes a subtle charm.
-
Accessorize Thoughtfully: Consider adding a statement brooch or pin to secure the draped end, or opt for a dupatta with embellishments to elevate the elegance of the overall look.
2. The Front Knot: Chic and Contemporary
The front knot style is a trendy and contemporary way to enhance your ethnic outfit with a modern flair. This technique involves tying a knot at the front of your ensemble, offering a chic and stylish alternative to traditional draping methods.
Step-by-Step Tutorial:
-
Position the dupatta evenly on both sides: Ensure that the dupatta is evenly draped on both sides, with equal lengths hanging down. This initial step sets the foundation for a balanced and symmetrical look.
-
Bring the ends to the front and tie a knot: Gently bring both ends of the dupatta to the front of your outfit, allowing them to meet at the center. Once in the front, tie a knot with the two ends. The knot can be tied loosely for a casual look or tightly for a more structured appearance.
-
Adjust the length and style the loose ends as desired: Customize the length of the dupatta ends according to your preference. You can let them fall naturally for a relaxed look or experiment with draping them over one shoulder for added flair. Styling the loose ends creatively adds a personalized touch to the overall appearance.
Additional Tips:
-
Experiment with Knot Styles: Consider experimenting with different knot styles to add variety to your look. A simple single knot may suit a casual setting, while a more intricate knot can elevate your outfit for a special occasion.
-
Choose the Right Fabric: The effectiveness of the front knot style is enhanced with fabrics that hold the knot well. Fabrics like silk or those with a bit of stiffness can create a more defined and polished knot.
-
Pair with Suitable Necklines: The front knot style pairs exceptionally well with outfits featuring a variety of necklines, such as V-necks, boat necks, or sweetheart necklines, allowing the knot to be a focal point.
3. The Waist Wrap: Effortless Grace
The waist wrap technique is a graceful and sophisticated method of styling your dupatta, particularly ideal for outfits like lehengas and anarkalis. This style involves elegantly draping the dupatta around the waist, adding a touch of grace to your overall appearance.
Step-by-Step Tutorial:
-
Start with the dupatta draped over the shoulders: Initiate the waist wrap by ensuring that the dupatta is draped evenly over both shoulders. This initial step establishes the foundation for the subsequent waist draping process.
-
Bring it around the waist, creating pleats: Gently bring the dupatta around your back to the front, encircling your waist. As you do this, create small pleats along the width of the dupatta, ensuring a neat and even appearance.
-
Tuck in the pleats securely, allowing the dupatta to flow gracefully: Once you've encircled your waist with the dupatta and created the desired pleats, carefully tuck the pleats into the waistband of your bottoms or skirt. This not only secures the draping but also allows the dupatta to flow gracefully, creating a sense of effortless charm.
Additional Tips:
-
Choose Complementary Bottoms: The waist wrap style pairs exceptionally well with lehengas, skirts, or anarkali suits. Ensure that the bottom you choose complements the overall color scheme and design of your outfit.
-
Experiment with Dupatta Length: Depending on your personal style and the design of your outfit, you can experiment with the length of the dupatta. A longer dupatta can create a more dramatic effect, while a shorter one can be more practical for certain occasions.
-
Accessorize Thoughtfully: Consider adding a statement waistbelt or embellished brooch at the point where you've tucked in the pleats. This can add an extra element of style and make your waist wrap even more visually appealing.
4. The Dupatta Saree: Fusion of Elegance
The Dupatta Saree style seamlessly merges the grace of a saree with the comfort of a salwar suit, creating a fusion look that's both elegant and distinctive. This draping technique involves skillfully draping the dupatta over one shoulder, creating pleats, and allowing the remaining fabric to form a pallu reminiscent of a saree.

Step-by-Step Tutorial:
-
Drape the dupatta over one shoulder: Begin by placing one end of the dupatta over either the left or right shoulder. The choice depends on personal preference or the design of your outfit. Allow the rest of the dupatta to flow freely over the arm, creating a starting point for the pleating process.
-
Create pleats and tuck them in at the waist: Bring the flowing end of the dupatta around your back to the front, gathering the fabric to form pleats. The pleats can be as wide or narrow as desired, depending on your preference. Once pleated, tuck them securely into the waistband of your bottoms or skirt.
-
Allow the remaining fabric to form a pallu: With the pleats securely tucked, let the remaining fabric of the dupatta cascade down the front, forming a pallu that adds a saree-like touch to the ensemble. Adjust the length of the pallu based on your preference, allowing it to gracefully drape over your arm or fall freely.
Additional Tips:
-
Experiment with Dupatta Length: The effectiveness of the Dupatta Saree style can be enhanced by playing with the length of the dupatta. A longer dupatta can create a more dramatic pallu, while a shorter one can provide a subtle and practical look.
-
Choose Complementary Bottoms: The Dupatta Saree style works well with various bottom styles, including salwar pants, palazzos, or skirts. Ensure that the bottom complements the overall look and doesn’t clash with the draping style.
-
Accessorize Thoughtfully: Consider adding statement accessories such as a waistbelt or ethnic jewelry to enhance the fusion appeal of the Dupatta Saree style.
5. The Bohemian Twist: Casual and Carefree
The Bohemian Twist introduces a casual and carefree approach to dupatta draping, making it an ideal style for outdoor events and informal gatherings. This laid-back technique involves hanging the dupatta loosely around the neck, allowing one end to fall freely for a relaxed and bohemian-inspired look.
Step-by-Step Tutorial:
-
Hang the dupatta loosely around the neck: Begin by loosely draping the dupatta around your neck, allowing it to hang freely without any specific structure. This step sets the foundation for the carefree and relaxed bohemian style.
-
Allow one end to fall freely, creating a relaxed look: Choose one end of the dupatta and let it fall naturally, creating a relaxed and flowing appearance. The key here is to embrace asymmetry and let the fabric cascade down naturally, adding a touch of bohemian flair to your overall outfit.
-
Optionally, add accessories for a boho touch: To enhance the bohemian vibe, consider incorporating accessories such as tassels, beads, or ethnic jewelry. You can attach these accessories to the hanging end of the dupatta, adding a personalized boho touch to the ensemble.
Additional Tips:
-
Choose Flowy Fabrics: Opt for dupattas made from flowy fabrics like chiffon, georgette, or cotton to enhance the relaxed and carefree feel of the Bohemian Twist.
-
Experiment with Colors and Patterns: Bohemian style often involves vibrant colors and eclectic patterns. Feel free to experiment with colorful and patterned dupattas to fully embrace the boho aesthetic.
-
Hair Styling: Consider leaving your hair down or styling it in loose waves to complement the carefree and laid-back nature of the Bohemian Twist.
6. The Cape Dupatta: Glamorous and Dramatic
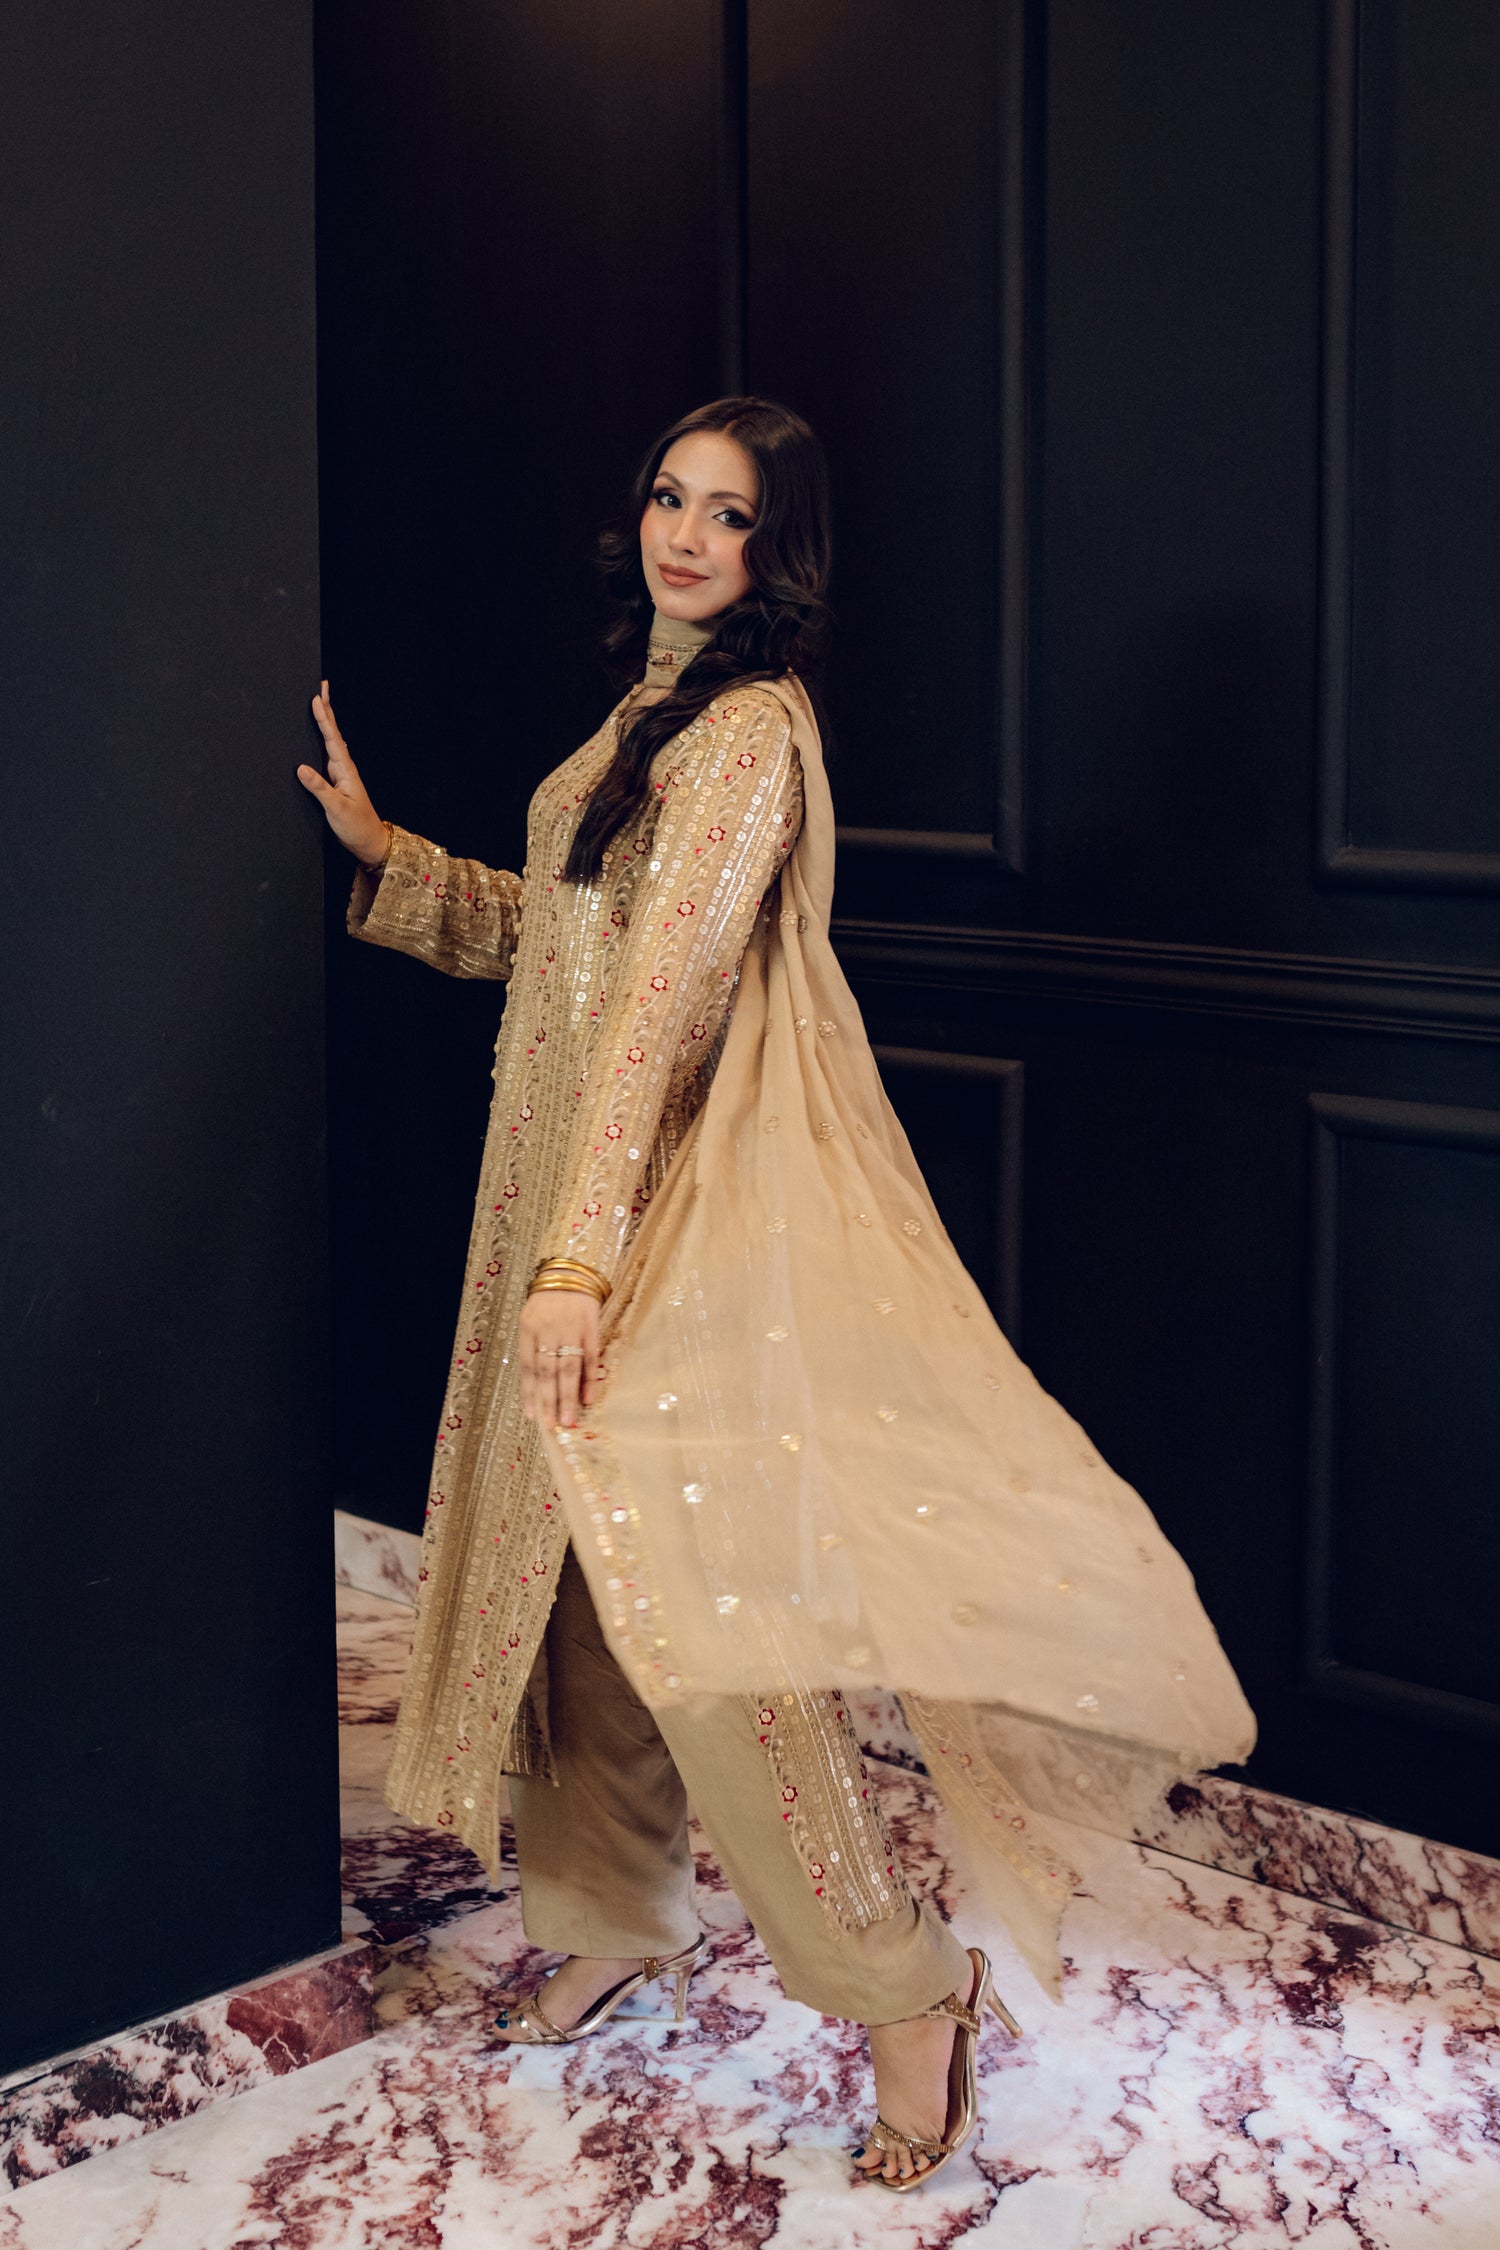
The Cape Dupatta draping technique is a stylish and dramatic way to elevate your outfit, infusing it with glamour and flair. This method involves using the dupatta as a cape, creating a striking visual effect over your shoulders.
Step-by-Step Tutorial:
-
Drape the dupatta over the shoulders: Begin by draping the dupatta evenly over both shoulders, ensuring that the fabric is symmetrically distributed on each side.
-
Allow it to fall down the back, resembling a cape: Instead of letting the dupatta hang over the front, bring it around to the back, allowing it to fall freely and creating the illusion of a cape. Adjust the length based on your preference and the style of your outfit.
-
Secure the dupatta in place for a glamorous look: To maintain the cape-like appearance and ensure a glamorous look, secure the dupatta in place. You can do this by using safety pins to attach the dupatta to the inner layer of your outfit or by strategically placing decorative brooches to add an extra touch of glamour.
Additional Tips:
-
Choose a Statement Dupatta: The Cape Dupatta style works best with a statement or heavily embellished dupatta. Consider opting for rich fabrics, intricate embroidery, or sequined designs to enhance the overall glamour.
-
Play with Lengths: Experiment with different lengths of the cape, ranging from a shorter, waist-length cape for a subtle effect to a longer, floor-length cape for a more dramatic look.
-
Pair with Fitted Outfits: This draping style pairs exceptionally well with fitted outfits, such as gowns, lehengas, or evening dresses, to create a seamless and polished appearance.
Conclusion
Mastering the art of draping your dupatta is about exploring various styles that resonate with your personality and complement your outfit. Whether you prefer timeless elegance, contemporary chic, or casual bohemian vibes, these step-by-step tutorials, accompanied by images, serve as a comprehensive guide to help you achieve the perfect drape for any occasion. Experiment, have fun, and let your dupatta become an expression of your unique style.

